Raspberry Pi
We use Raspberry Pi for our main microcontroller on the final products as it has more computing power.
Below is the pinout of the Raspbery Pi 4.

OS Flashing
Raspberry Pi released an imaging tool which simplifies the process of flashing an OS into a micro SD card. If you do not have a micro SD card reader then use an adapter.
Installing Tools
At STARX we use use a variety of tools this inclues ROS, odrive, SPI, GPIO, Git, and more. Use the following lines and follow the installation instructions for the tool that you will be using so that the raspberry pi is ready to be used to test and work on anything related to STARX.
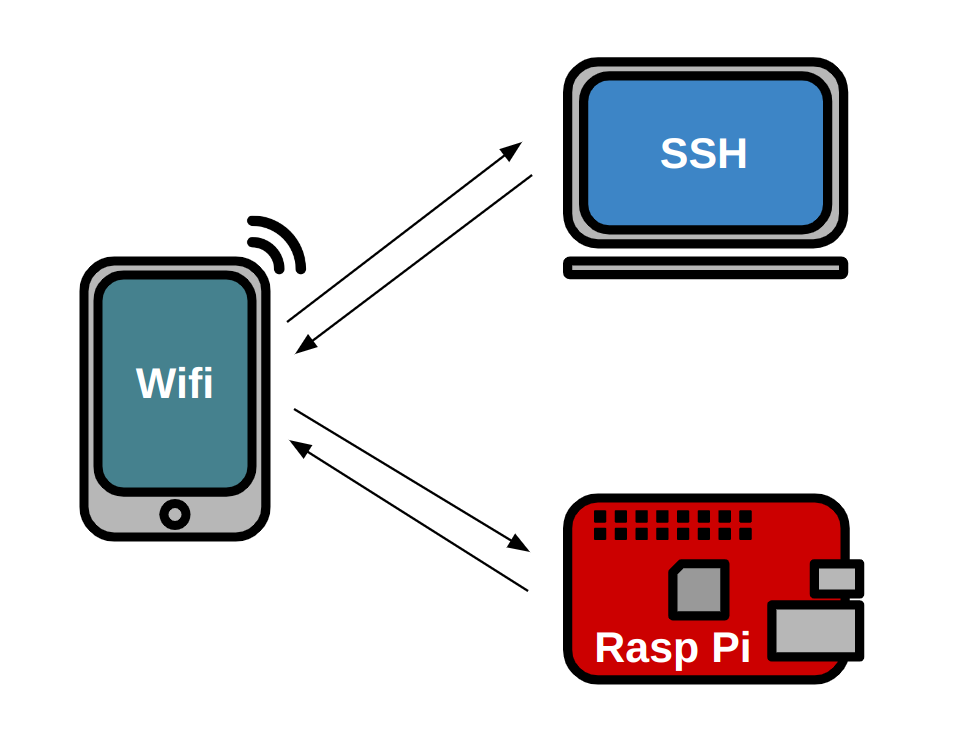
Headless
A headless raspberry requires no monitor to make changes, instead we remotely connect to it and make changes using a laptop. This is important during competition as we do not have the space or time to setup an environment for a raspberry pi.
This requires 3 different devices: hotspot, raspberry pi, and laptop
Hotspot
Settings > About
Name: starx
Settigs > About > Personal Hotspot
Password: joyride67
Enable hotspot
Settings > Connections > Mobile Hotspot and Tethering > Mobile Hotspot
Network name: starx
Password: joyride67
Enable hotspot
Raspberry Pi
Google Drive > STARX > PROGRAMMING Team
Download the custom STARX Ubuntu image: starx_ubuntu.img.zip
Unzip image
$ unzip starx_ubuntu.img.zip
Flash custom starx ubuntu image
Open the Raspberry Pi Imager > CHOOSE OS > Use custom
Run the following commands to install necessary application
$ sudo apt install openssh-server
The following commands checks the status of the ssh service
$ sudo systemctl status ssh
Ubuntu uses ufw to control firewall permission, we must allow ssh connections
$ sudo ufw allow ssh
Connect to starx wifi so that it creates the wifi profile and automatically connects
Laptop
Note
The following will work for both Ubuntu and VM Ubuntu. VM Ubuntu MUST have the Network Adapter set to “Bridged Adapter”
Install the following tools to find the raspberry pi’s IP address.
$ sudo apt install net-tools
$ sudo apt install nmap
We wil use two commands to discover the raspberry pi’s IP as it it dynamically assigned. The following will print the gateway’s IP address.
$ arp -a

Example Output: 192.168.20.53
We will use this IP to do a wifi scan, this will find every device connected to this WIFI.
$ nmap -sP <gateway's ip (first 3 values)>.1/24

Example Input: nmap -sP 192.168.20.1/24
This should take a couple of seconds and should print three different IP’s: gateway, laptop, and raspberry pi
Use the raspberry pi IP to ssh into the pi.
$ ssh starx@raspi-IP